Controlling generated images with Stable Diffusion
If you haven’t been living under a rock, you should be aware that the world has experienced a technological boom related to generative Artificial Intelligence, specifically due to the wonders brought about after harnessing the power of the Transformer architecture. In the last year, the transmutation of user-fed text prompts to high-resolution images or human-like conversational responses has taken the world by storm, to the point of discussing the halting of further development out of panic.
Stable Diffusion is a generative AI model, capable of turning text prompts to images (simple, huh?). Roughly, it works by starting from a block of noise, and trying to procedurally structure the noise into an image that follows the given prompt. Under the hood, your text prompt is being processed within a large vector space encoding a plethora of natural language examples, and the concept it is describing helps massage the chaotic numbers of pixel noise into revealing a similar construct in the produced image.
You can also provide a starting image to go with the text prompt, to further assist the model to spawning some pixels. Or you can tell the model to paint your prompt over only a specific part of the image given, a technique called in-painting. Alternatively, you can have the model paint outside the generated image, matching the style of the original, a.k.a. out-painting. All this is now possible with varying degrees of freedom in representing the final result, either minimally altering the input image or have it serve as a nebulous psychedelic inspiration for the artisan AI painter.
Stable diffusion is open-source (usually under a CreativeML Open RAIL-M license), meaning anyone can get their mice on it. You’ll need, however, a GPU to produce results quick enough to be able to enjoy it, or you can rent some online. The market is rife with quick ways to play with this technology, using intuitive user interfaces such as Gradio.
Workflow
There are many recipes out in the wild on how to best leverage this new tech to your artistic delight. Most of them should include:
- Prompt engineering: using the right words in your text prompt to help the underlying language model understand what you’re describing
- Fine-tuning the few model’s parameters for image generation: selecting values that define how much the model will follow the text or image user input, how wild the result should be or what the output resolution should be. There are not many such parameters in Stable Diffusion, however their selection is normally subject to experimentation.
However, new ways of guiding the model keep popping up. One of the most recent is Controlnet, which I highly suggest the reader takes a look at.
In this post, we’ll start from a text prompt to depict a dramatic shot of a well-known villain. To better specify his position in the output, we’ll also use Controlnet’s OpenPose model along with a free stock photo found online.
Text Prompts
Each AI language model seems to resonate with a certain vocabulary and phraseology. For Stable Diffusion, it is generally needed to specify the object we want to depict, and optionally the output’s overall style.
For our object description, we can input something like:
(darth vader holding his red lightsaber:1.2)
where the parentheses and the number act as modifiers to gauge the contribution of that part of the prompt in the final image (in some implementations).
Currently, AI models may fumble such abstract directives, so it should be safer to just specify:
(darth vader:1.2)
At this initial stage it is also recommended to use style descriptions, to avoid having to implement them at a later stage. Surprisingly, this can be very straightforward. For now, we can go towards this direction:
star wars lucasarts sci-fi close up digital art glow effects best quality photorealistic 4k ultra high res extremely detailed
Stable Diffusion allows for another text prompt, called Negative prompt, which are words that you don’t want to be able to describe the output image with. You’d want to specify here some known features, that are likely to be contained in outputs missing the negative prompt:
low quality, jpeg artefacts, blurry, low resolution, worst quality, watermark, lowres, hands, bad-hands-5, poorly drawn hands, poorly drawn face, bad proportions, deformed
To similarly avoid the presence of random lightsabers all over the place (the model is likely to have seen lightsabers
all over the place during its training), perhaps you could also throw in something a negative prompt for red
lightsaber.
Sampling for an image
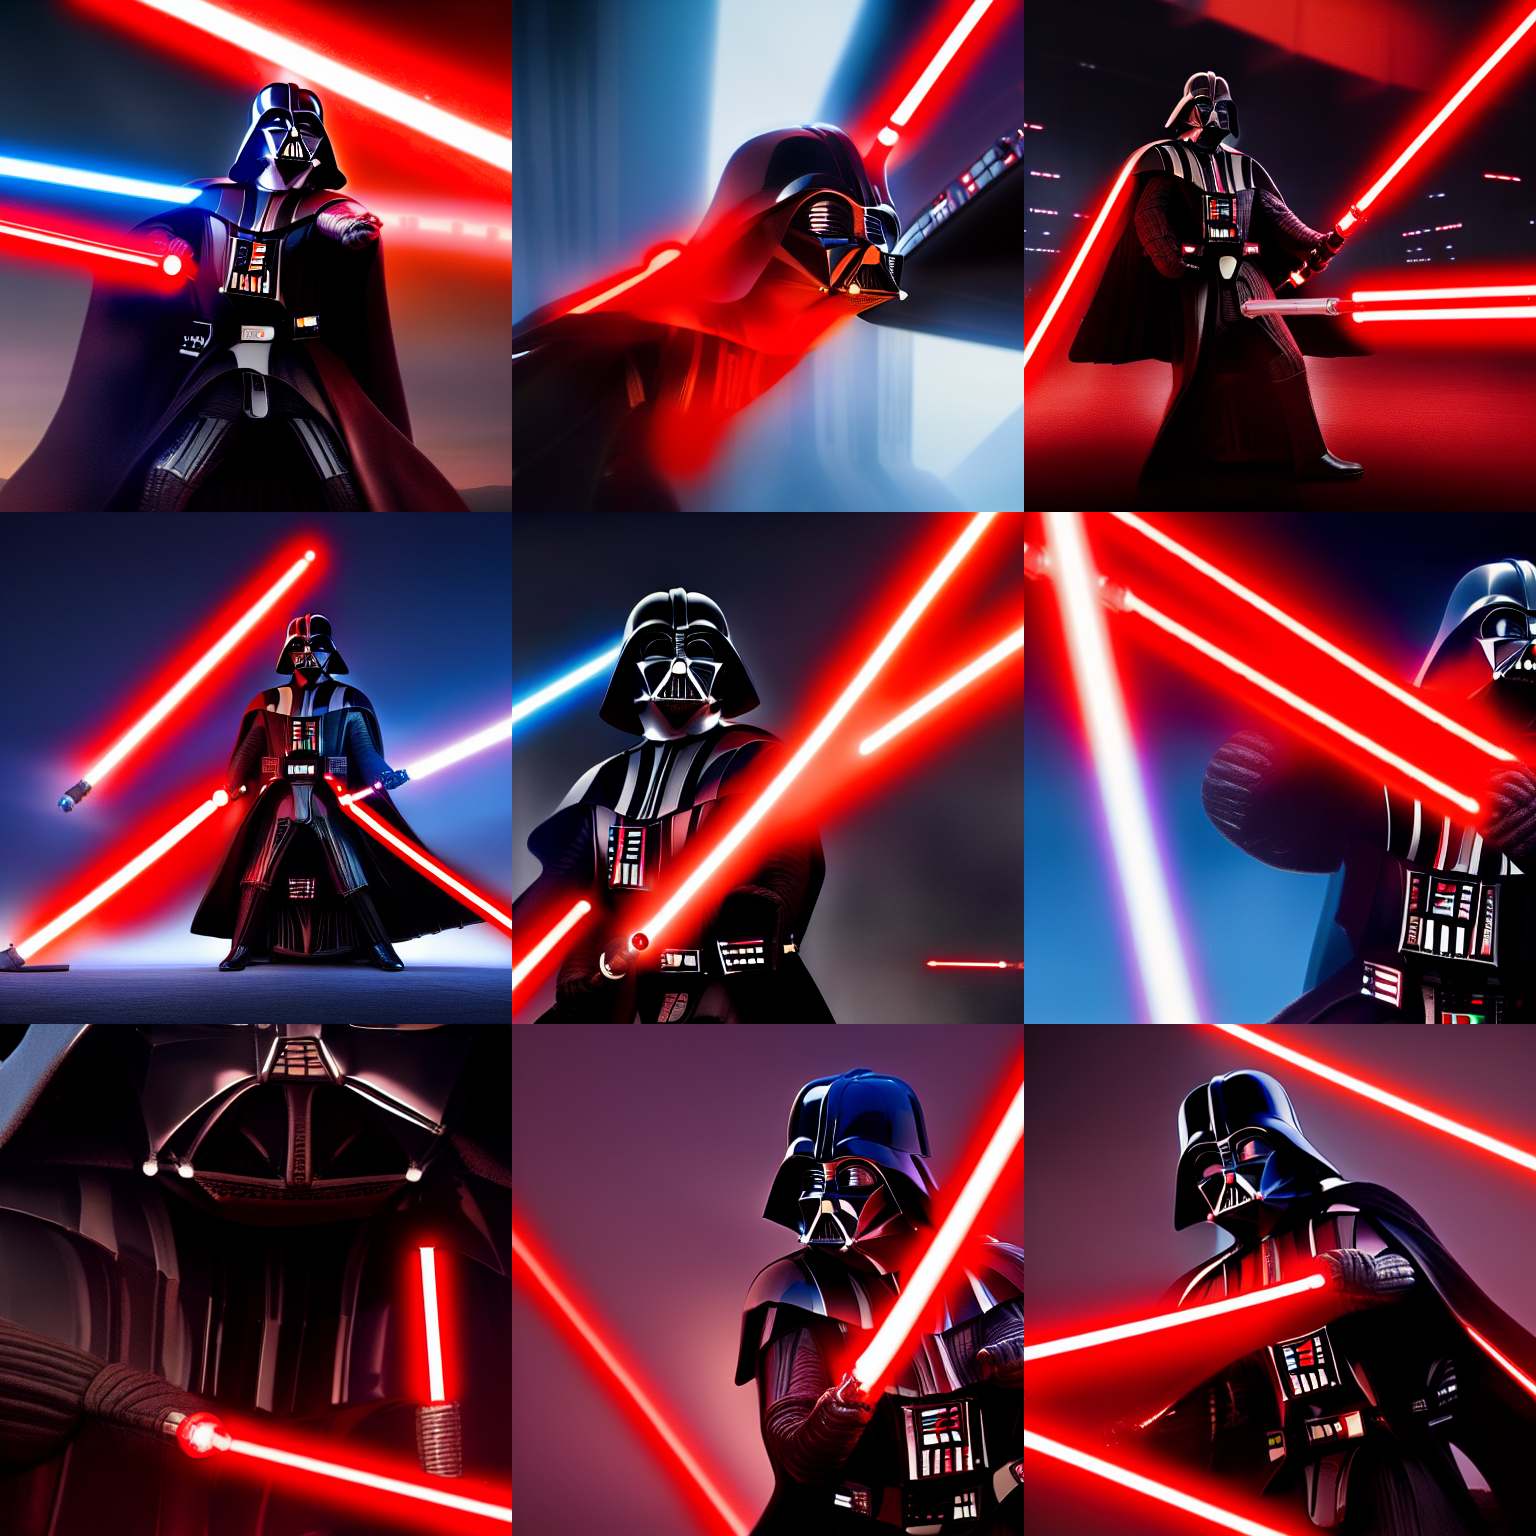
Crank the dial to output many images at a time, find settings that will not take an eternity to run, and we can start looking for our starting point. It is obvious quickly that it’s going to be very random, but the results are of stunning quality:
One thing you could do here is to be more specific in the text prompt. Maybe darth vader standing up and posing for the
camera is a good choice. However, as mentioned, we’re taking a fancier road.
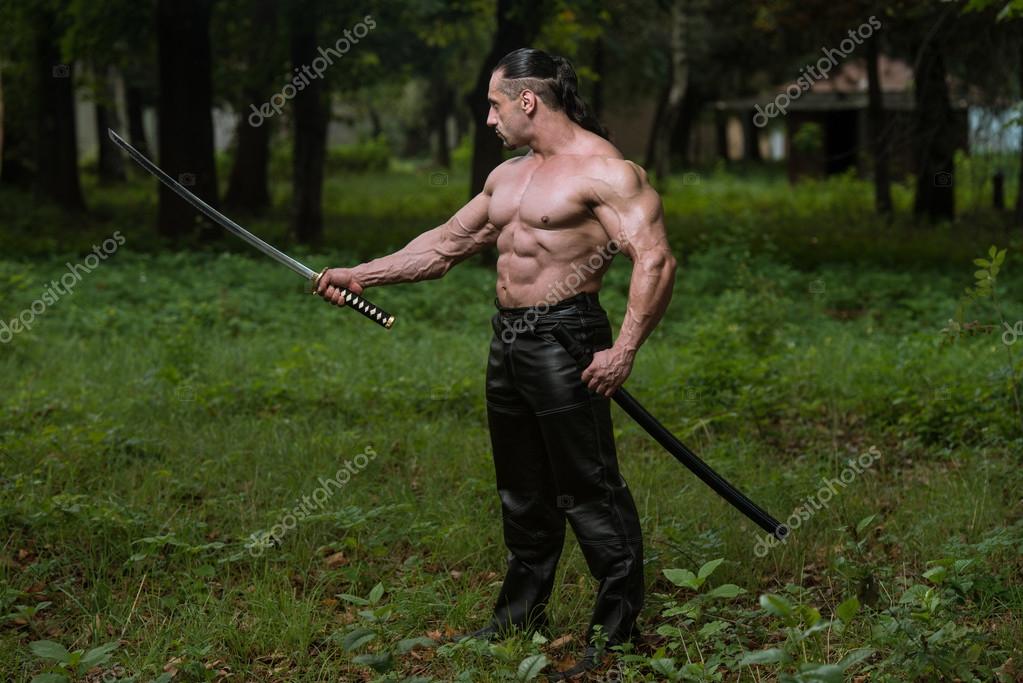
I found the image of a man posing in a manner that I decided would be near the pose I’d like our Vader to have. Using Controlnet’s OpenPose model, we can extract the pose of the person in the picture:
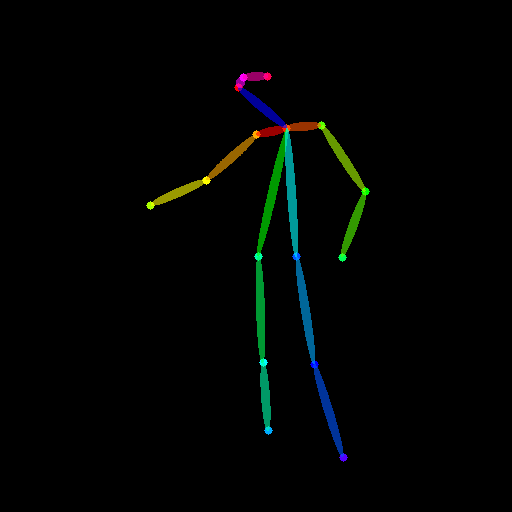
We can now use this extracted pose and repeat the process of sampling the model for an image to work with. We get much better results instantly:
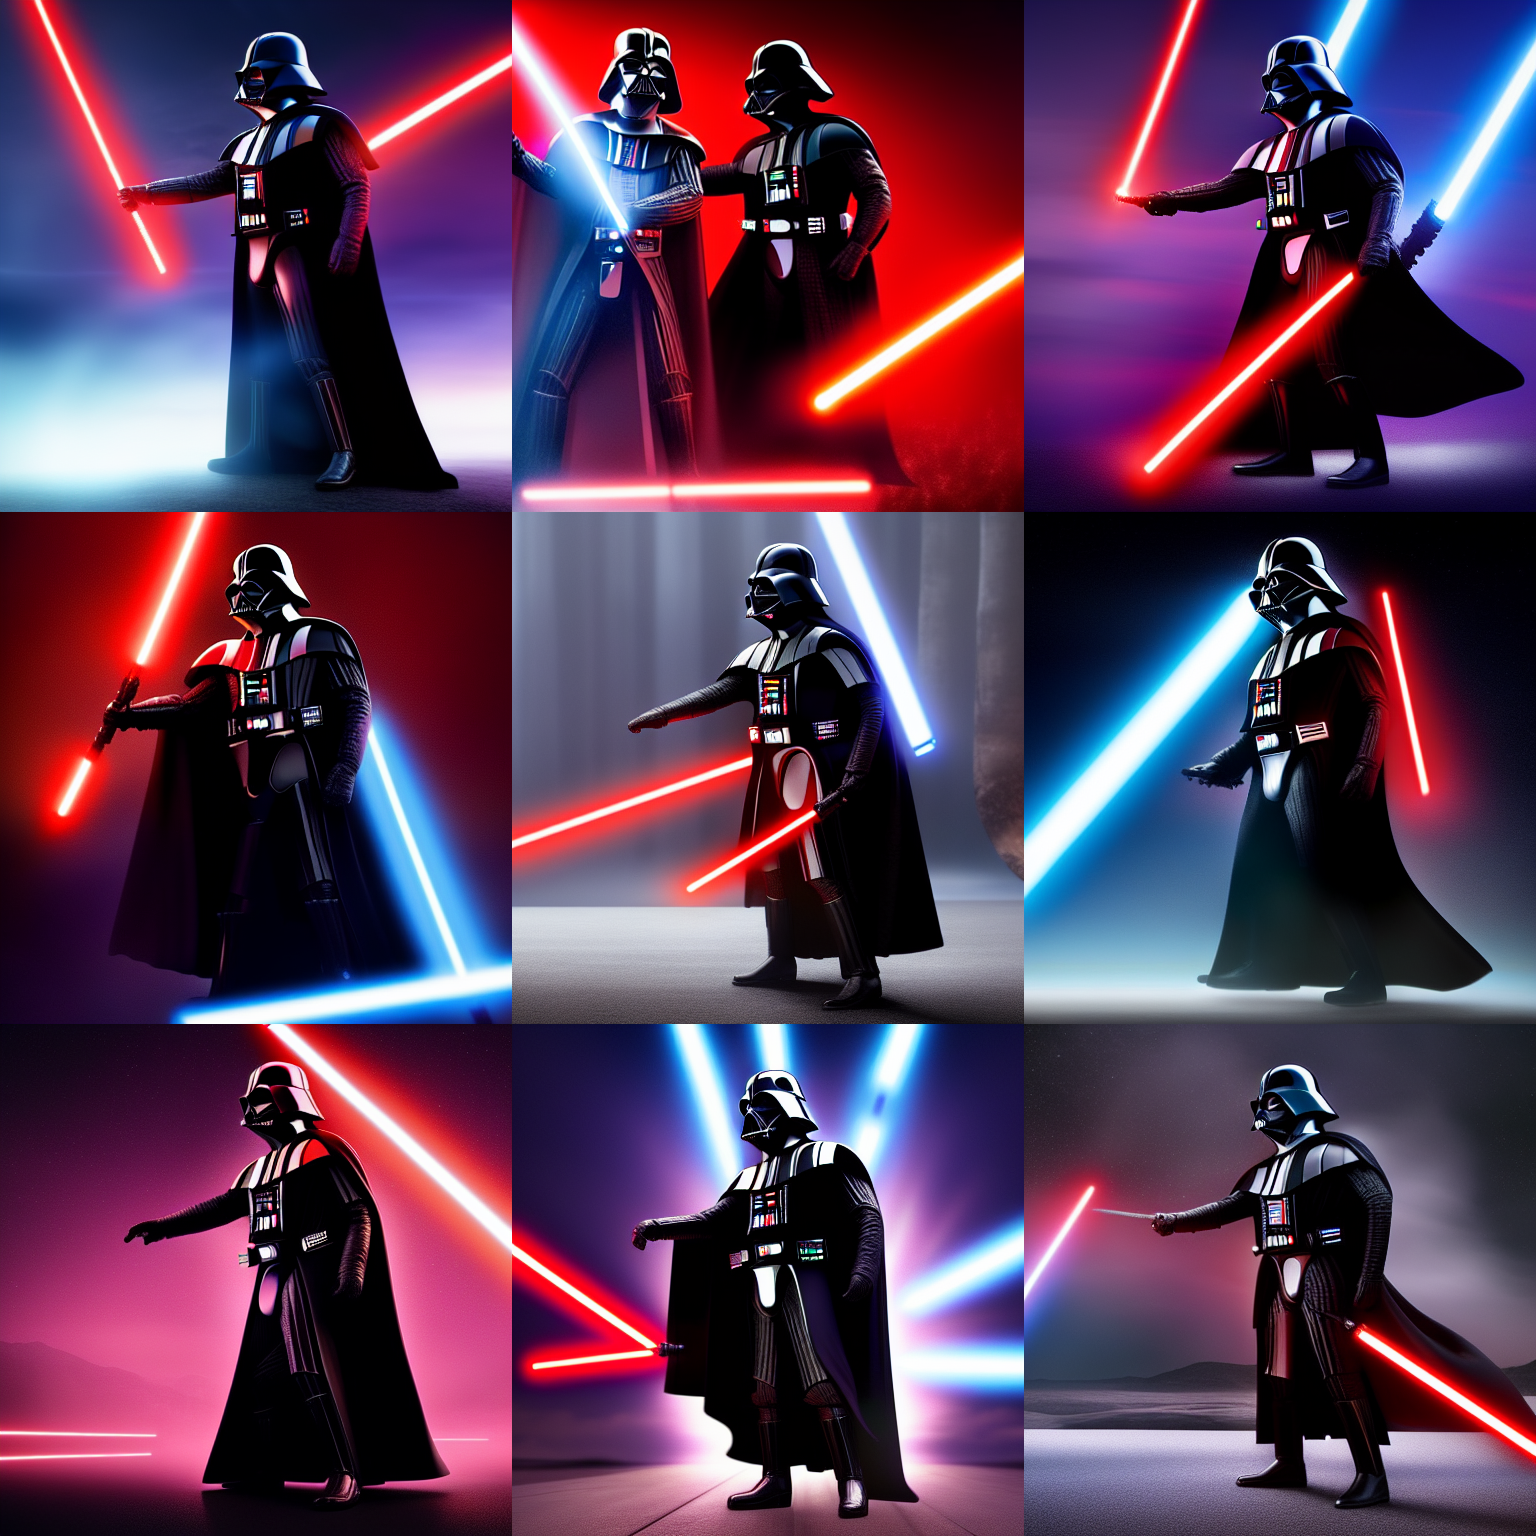
The pose is transferred over in varying but satisfactory degrees of success. The lightsaber is also generated without specifying it in the prompt - the pose was enough for the model to assume it! I chose the first image from the second row to continue.
Retouch
In the selected image, I like the pose but there are some blue lightsabers that I want to drop.
We can use in-painting here to mask over this part and re-generate only that part of the image. We keep the prompts and settings the same and resample until we find something we like:
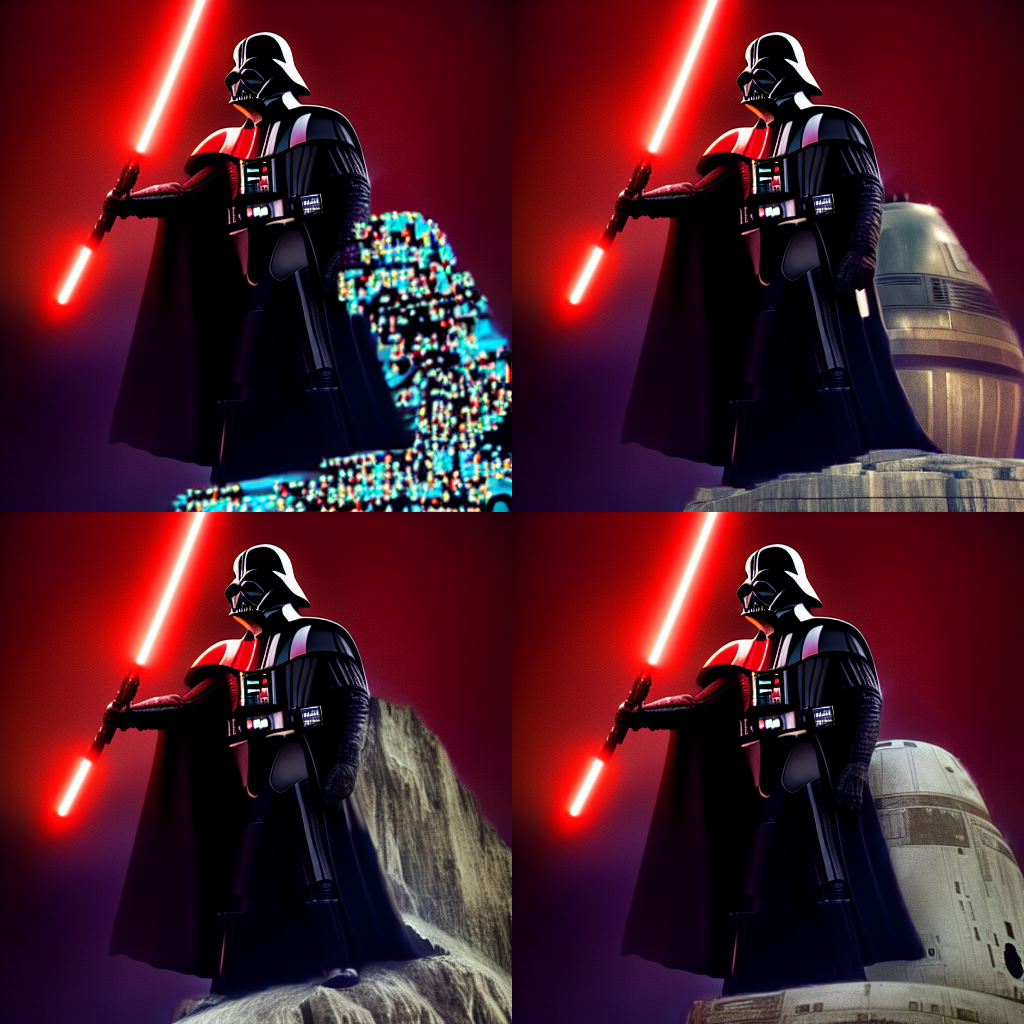
It appears its filling in the picture with some buildings, we can keep something like that and continue.
Upscale and improve details
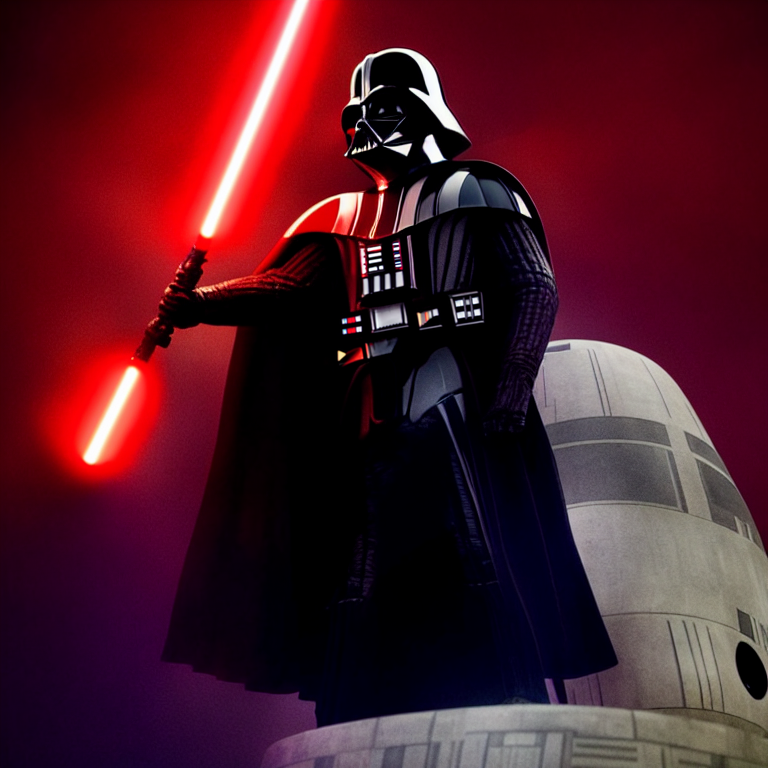
At this point, we can set the dials to produce a larger image, and evolve from 512x512 to 768x768 or larger. We can even do some artificial upscaling, but its wise to just let the model reconstruct the image at a higher resolution, providing the prompts and selected image as inputs.
We can also mask Vader’s suit buttons and improve their detail, by generating new higher resolution detailed variations, to reach this
At this point, I hope this has demonstrated how easy it has become to experiment with AI art.
Other experimentations
Many people are taking such processes to the next step, even reaching the creation of animations with fine-tuned models (see this and this video by the Corridor Crew on YouTube).
One idea I had recently is to in-paint over some specific areas of a generated image, and create very small variations (with a Denoising strength in the region of 0.2-0.4), and combine the resulting outputs in a .gif. In our case, this can be used to create a pulsating effect, give the effect of a roaring flame, or even a flowing river:
New methods allow even multi-region control of in-painting masks, giving a different prompt to each masked portion of the image (see this video by Sebastian Kamph on YouTube.).
From what I’ve seen lately, txt2video techniques are emerging, and the results are very promising. Let’s wrap-up thematically with this lovely gif, taken from FollowYourPose, a txt2video model that takes a sequence of poses and animates it according to your text prompt: